And How to Keep the Water Where It Belongs
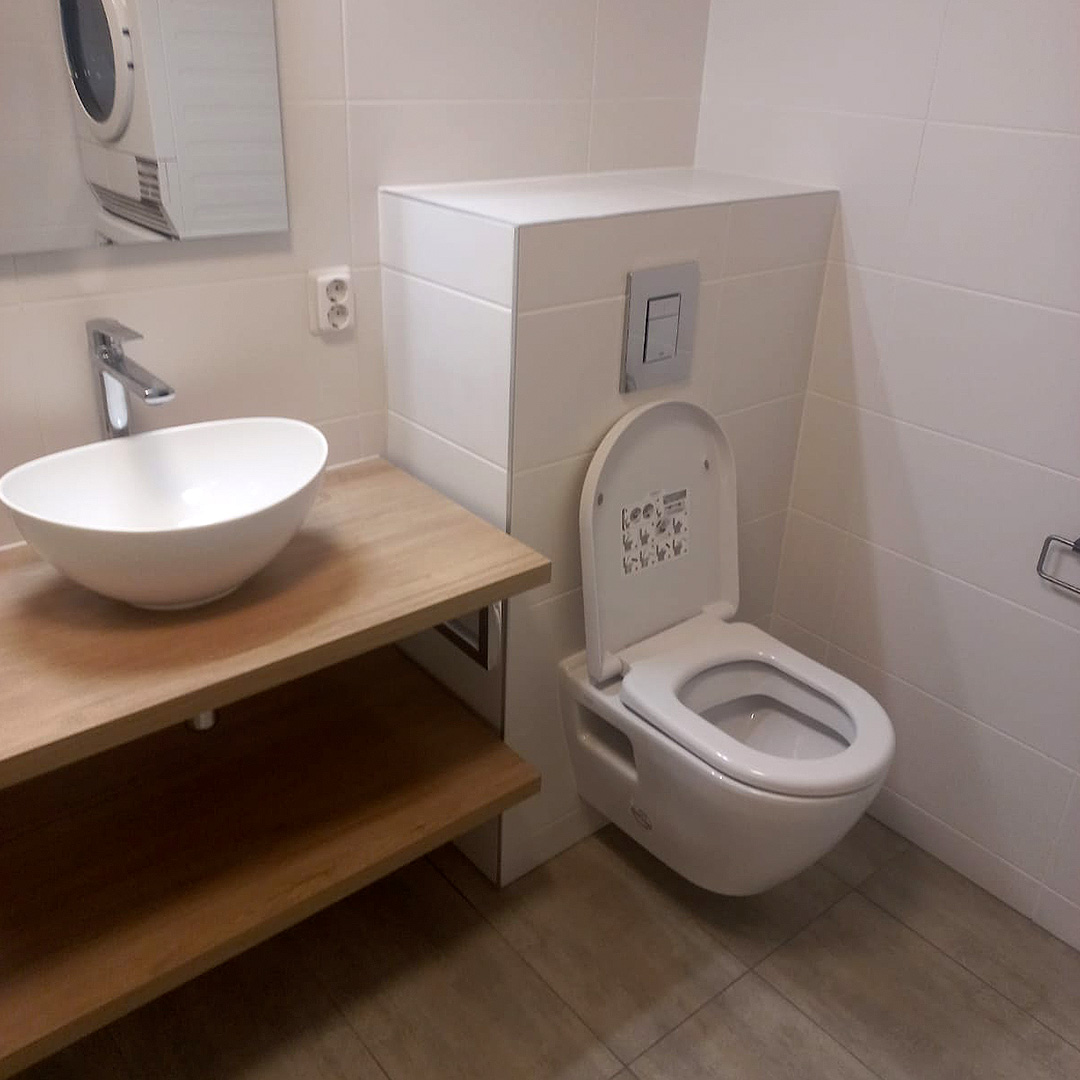
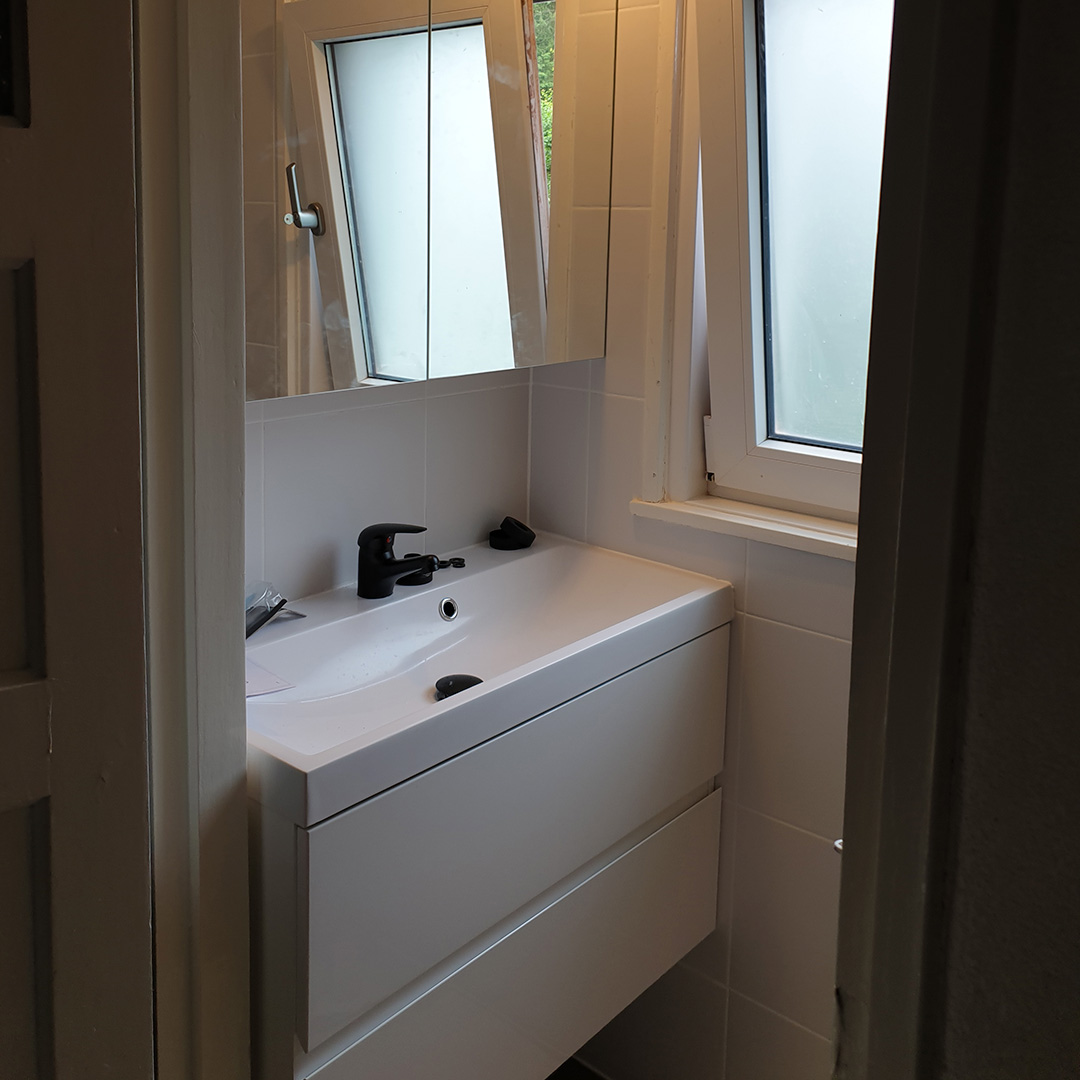
Anyone who has ever rented or bought a traditional apartment in Amsterdam, Utrecht, or The Hague knows the particular architectural quirk of the classic Dutch bathroom. They are often, to put it mildly, intimately proportioned. You step out of a raised shower cubicle and immediately bump your elbow on the sink. The washing machine is somehow wedged behind the door, and the entire space feels like a functional afterthought rather than a place to actually relax.
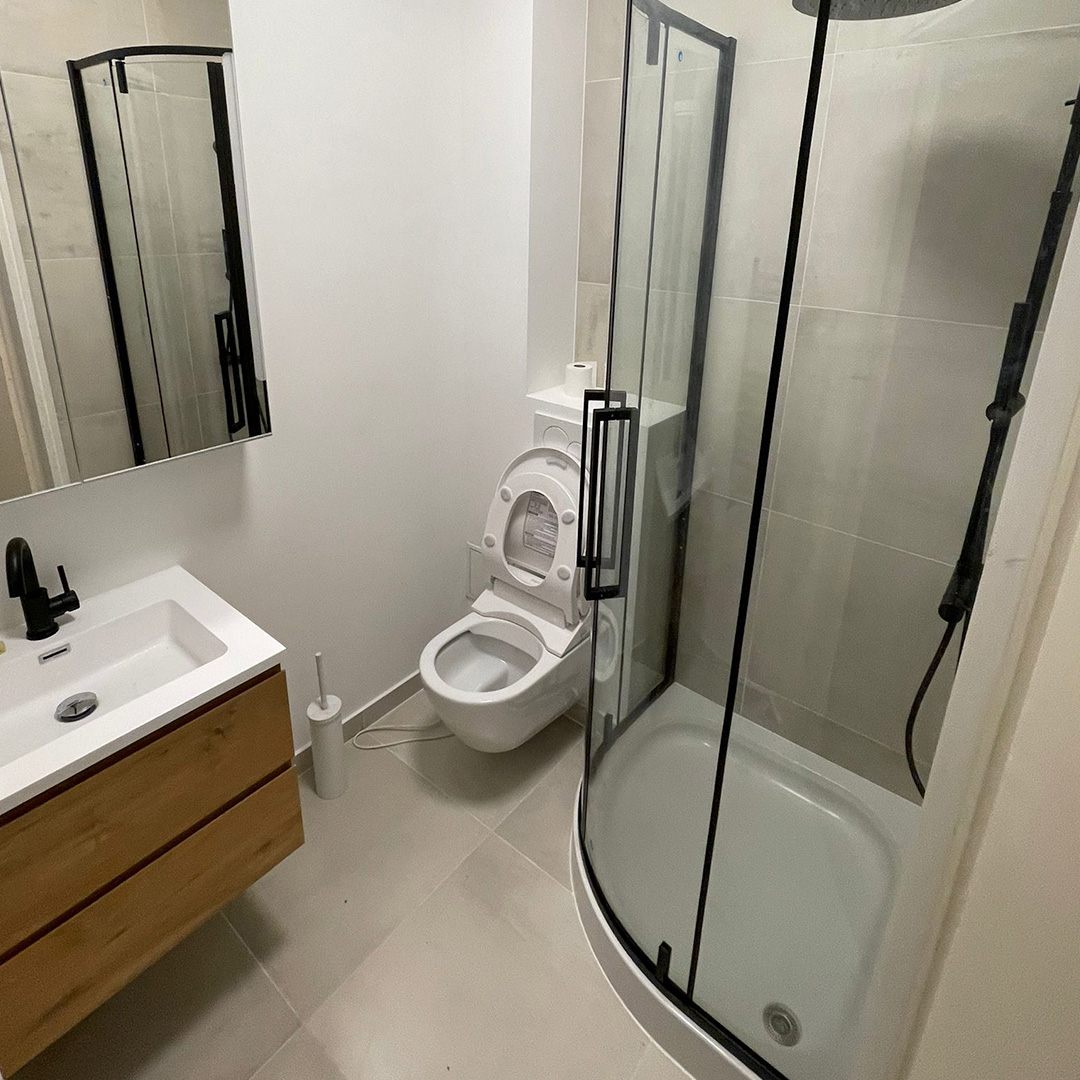
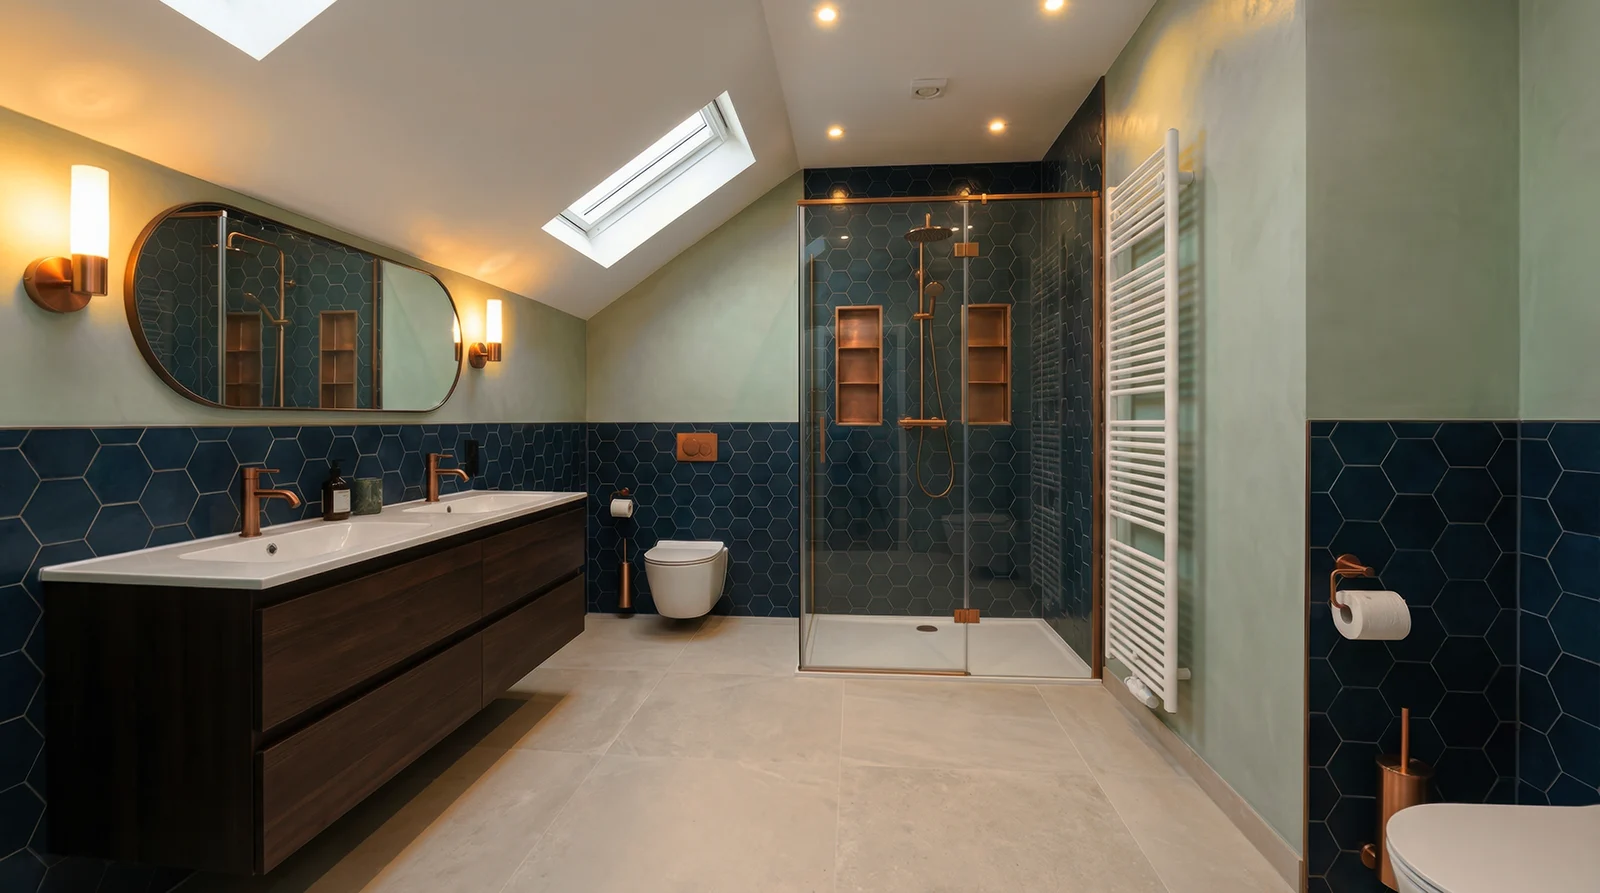
But there is a quiet revolution happening in how we handle these restrictive floor plans. Rather than trying to cram bulky plastic shower trays and glass boxes into awkward corners, homeowners are embracing a radically open concept. When it comes to wet room design, Netherlands-based architects and renovators are proving that removing the barriers can fundamentally change how a space feels.
By tanking the entire room and letting the floor slope gently to a hidden drain, a claustrophobic box is suddenly transformed into a sleek, expansive spa. But turning a standard bathroom into a wet room in a multi-story building is not an exercise in basic DIY. It requires a flawless grasp of physics, plumbing, and material science.
Let’s explore the anatomy of a successful wet room, how it solves the spatial puzzle of the typical small apartment bathroom NL, and why getting the hidden details right is the only way to avoid a very wet, very angry downstairs neighbour.
The Spatial Alchemy: Why Wet Rooms Work in Small Spaces
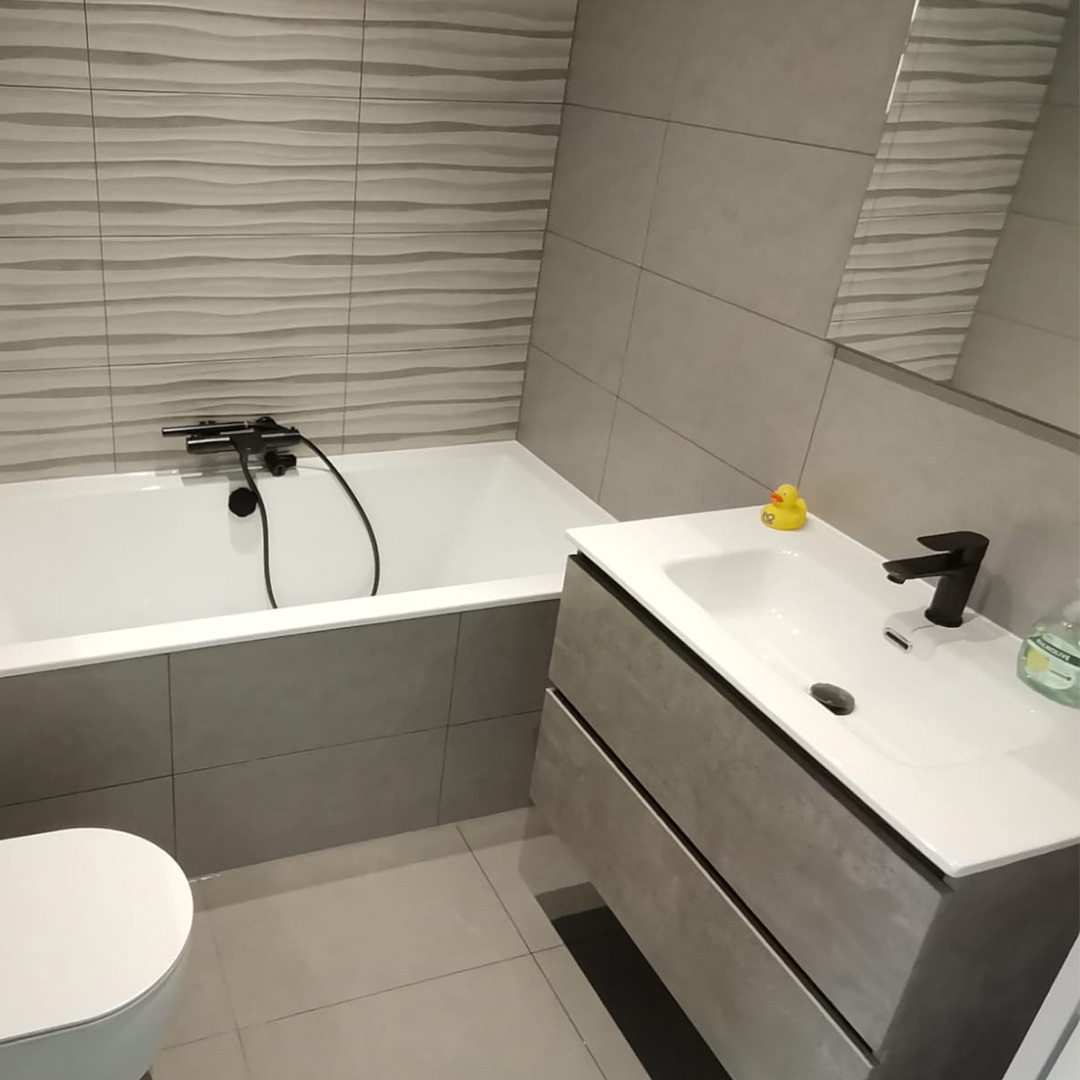
At its core, a wet room is exactly what it sounds like: a bathroom where the shower area sits completely flush with the rest of the floor, and the entire room is treated to withstand moisture.
The immediate benefit is visual trickery. A traditional shower tray visually chops a small room into even smaller micro-zones. Your eye stops at the edge of the step. By continuing the same floor tile right across the room and straight into the shower zone, the eye is tricked into reading the space as a single, large, continuous area.
Furthermore, you reclaim the physical space previously lost to the thick frames and sliding doors of standard enclosures. You have more room to move, the bathroom becomes significantly easier to clean (goodbye, grimy shower tracks), and you create a universally accessible space that feels inherently luxurious.
The Invisible Shield: Mastering Waterproofing
This is where the dream meets reality. If you are undertaking a wet room waterproofing apartment project, the stakes are undeniably high. A tiny leak in a ground-floor suburban house is an annoyance; a leak in a third-floor apartment in a historic Dutch building is a catastrophic, expensive disaster.
In a traditional bathroom, only the immediate shower enclosure is waterproofed. In a wet room, the entire space must become a watertight envelope. This process is known as ‘tanking’.
The local terminology for this critical phase is inloopdouche waterdicht maken (making the walk-in shower watertight), but in a true wet room, it extends far beyond just the shower zone.
Here is what proper tanking actually entails:
- The Primer and Membrane: The floor and the lower sections of the walls (and the full height of the shower area) are coated in a specialized waterproof primer. This is followed by a liquid membrane—a thick, rubbery substance painted onto the surfaces that dries into an impenetrable, flexible skin.
- Taping the Joints: Buildings move. Temperature changes cause floors and walls to expand and contract slightly. To prevent the waterproof membrane from cracking at the corners, special flexible, waterproof tapes are embedded into the joints where the floor meets the wall, and where walls meet each other.
- The Drain Collar: The most vulnerable point in any wet room is where the water meets the drain. A specialised waterproof collar must be bonded directly to the drainage channel and integrated flawlessly into the floor membrane.
Only once this room-sized rubber boot is fully cured can a single tile be laid.
The Physics of Flow: Gradients and Drainage
Water is spectacularly lazy. It will always take the path of least resistance. If your floor doesn’t gently and deliberately guide the water to the drain, it will happily pool in a corner, seep under the bathroom door, and begin to breed mildew.
Creating this slope – the gradient – is the most technically demanding part of the installation. A standard wet room gradient drops at a ratio of about 1:60 to 1:80. This means the floor needs to drop approximately 1.5 to 2 centimetres for every metre it travels towards the drain.
Choosing Your Drain
The type of drain you choose dictates how your floor will slope, and consequently, what kind of tiles you can use.
- The Point Drain: This is your traditional square or circular drain, usually placed in the centre of the shower zone. To funnel water toward a central point, the floor must be sloped from all four sides. This four-way gradient means you must use small mosaic tiles in the shower area, as large-format tiles cannot bend to accommodate the multi-directional slope.
- The Linear Drain (Drain channel): This is the gold standard for modern, sleek Dutch apartments. A long, narrow steel channel is installed flush against one wall of the shower. Because the water only needs to flow in one direction towards the wall, you only need a single, flat gradient. This allows you to use those stunning, large-format concrete or porcelain tiles right across the room, creating that highly sought-after seamless look.
Layout Rules for Compact Dutch Bathrooms
Even without physical barriers, you still have to think logically about how water behaves when it splashes. If you are planning a wet room renovation, Dutch apartment dwellers must consider the “splash zone.”
- Mind the Towels and Loo: A high-pressure shower head can throw water surprisingly far. Keep your toilet and your towel rails as far away from the shower head as the floor plan allows. Nobody wants a soggy towel on a cold Tuesday morning.
- The Strategic Screen: In very small spaces, a true 100% open wet room might mean your toilet seat gets wet every time you shower. The elegant compromise is a single, frameless panel of toughened glass. It doesn’t break up the visual space, there are no moving doors or bulky frames, but it catches the worst of the rogue spray.
- Underfloor Heating is Your Best Friend: If there is one luxury you should not skip, it is electric underfloor heating. Not only does it feel glorious on a winter morning, but it is highly functional. It acts as a massive radiator that rapidly evaporates any residual surface water, keeping the room dry, hygienic, and free from damp smells.
- Ventilation is Non-Negotiable: Because a wet room intrinsically holds more ambient moisture than a standard bathroom, upgrading your mechanical extraction fan is vital. Look for a system with a built-in humidistat, which automatically kicks in when the moisture levels in the air rise.
The Bottom Line
Transforming a cramped apartment bathroom into a seamless wet room is one of the most rewarding renovations you can undertake. It fundamentally alters the way you interact with your home, replacing a daily chore with a sense of architectural calm.
By understanding the vital importance of absolute waterproofing, respecting the physics of drainage, and planning your layout to accommodate the splash, you can create a space that feels double its actual size. It just requires a healthy respect for water and the right experts to keep it in check.