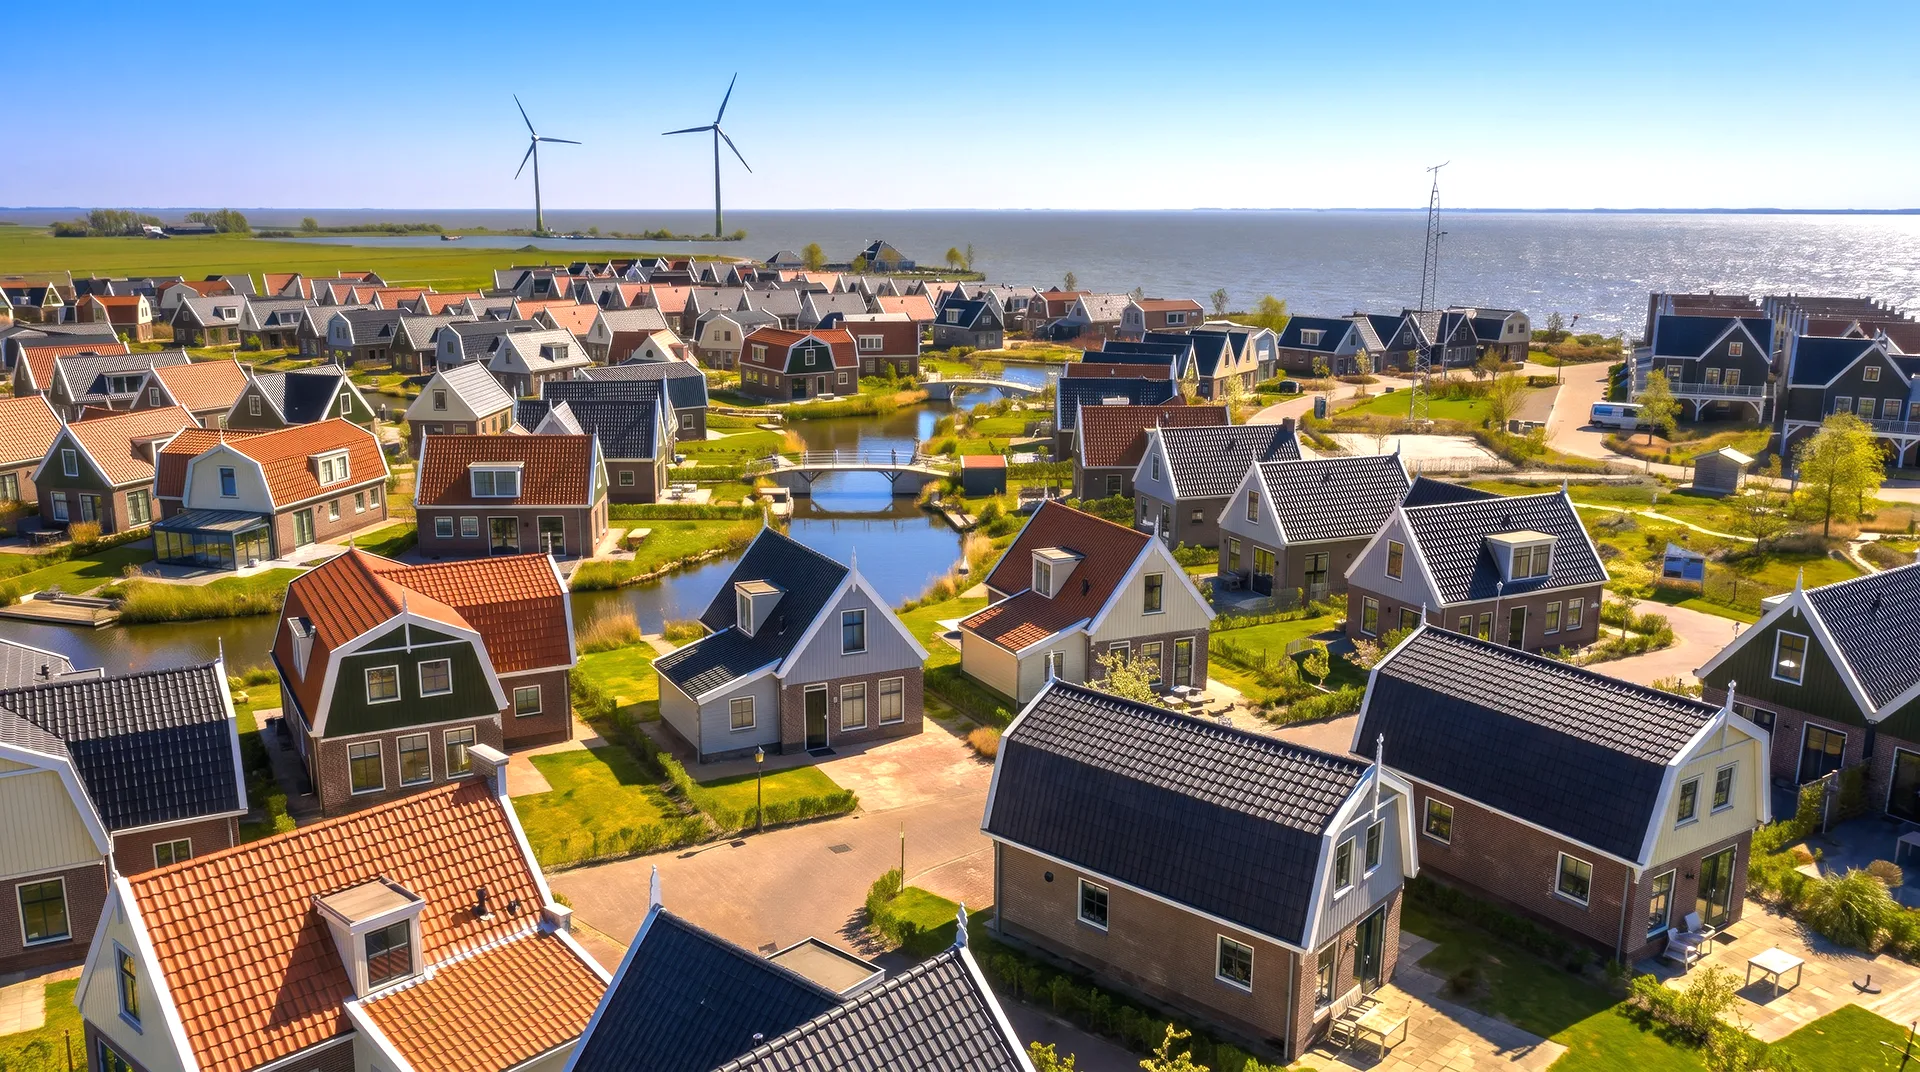
A pre-war Dutch home has its charm: deep window reveals, brick facades, timber floors, stained glass, high ceilings. It can also be cold in a way modern homes rarely are, and not only from draughts. Sit near the facade in winter and the wall itself seems to draw warmth away.
For many houses built in the 1920s and 1930s, cavity wall insulation, or spouwmuurisolatie, is one of the quickest ways to fix that. It is less disruptive than internal wall insulation, usually cheaper than exterior facade insulation, and often done entirely from outside.
Older houses need care, though. A 1930s cavity wall is not a modern cavity wall. The space may be narrow, the brickwork weathered, the cavity full of mortar debris; there may be old repairs, damp patches or protected wildlife. Done well, cavity insulation makes a cold house noticeably more comfortable. Done without a proper survey, it can create problems that are slow and expensive to fix.
Pre-war homes: solid walls or cavity walls
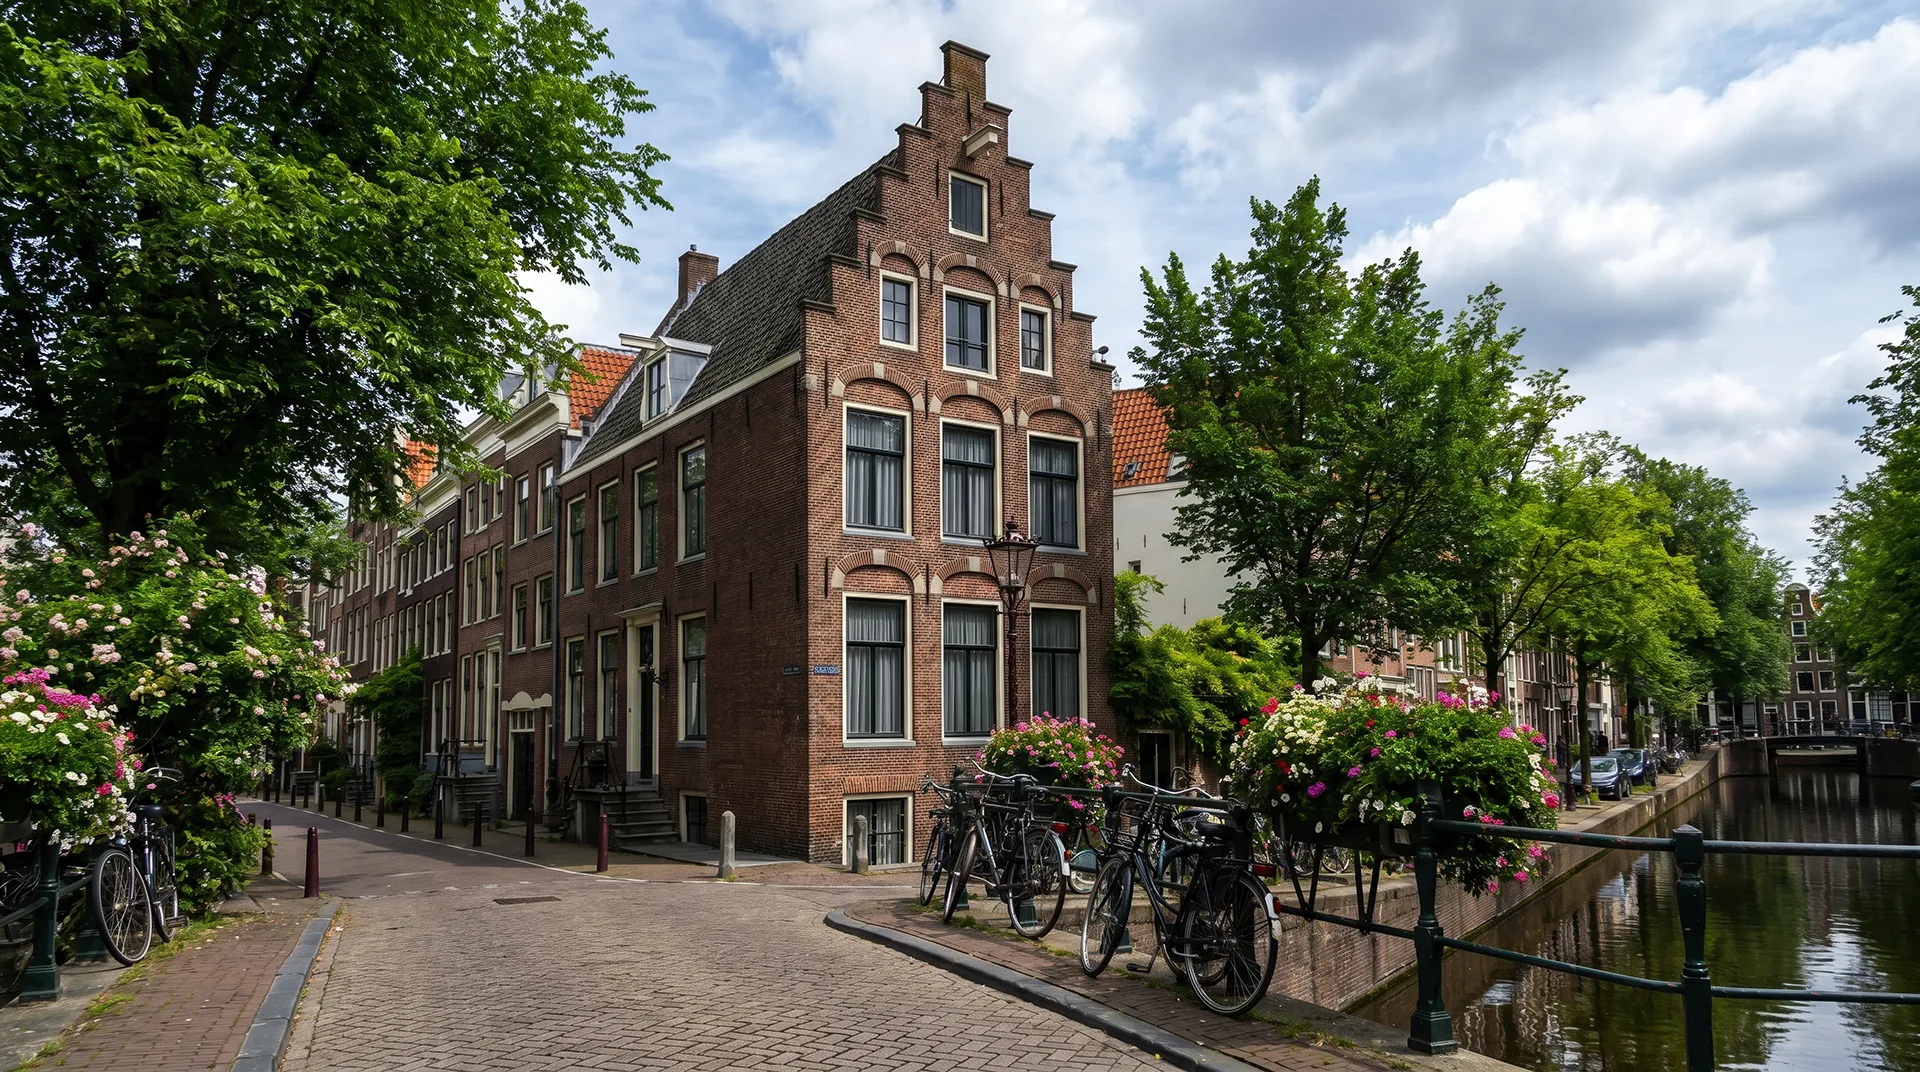
“Pre-war” does not automatically mean “suitable for cavity insulation”. Many Dutch houses built before about 1920 have solid masonry walls, often called steensmuren, with no cavity to fill. For those homes the options are internal insulation, exterior wall insulation, or a more careful heritage-compatible approach.
Houses from the 1920s and 1930s more often have cavity walls: an inner wall, an outer brick wall, and a narrow gap between them. The cavity was meant to keep out driving rain, not to hold insulation, and in most cases these walls were left empty when built. The potential to insulate is real, but the building has to be checked first.
How cavity wall insulation works
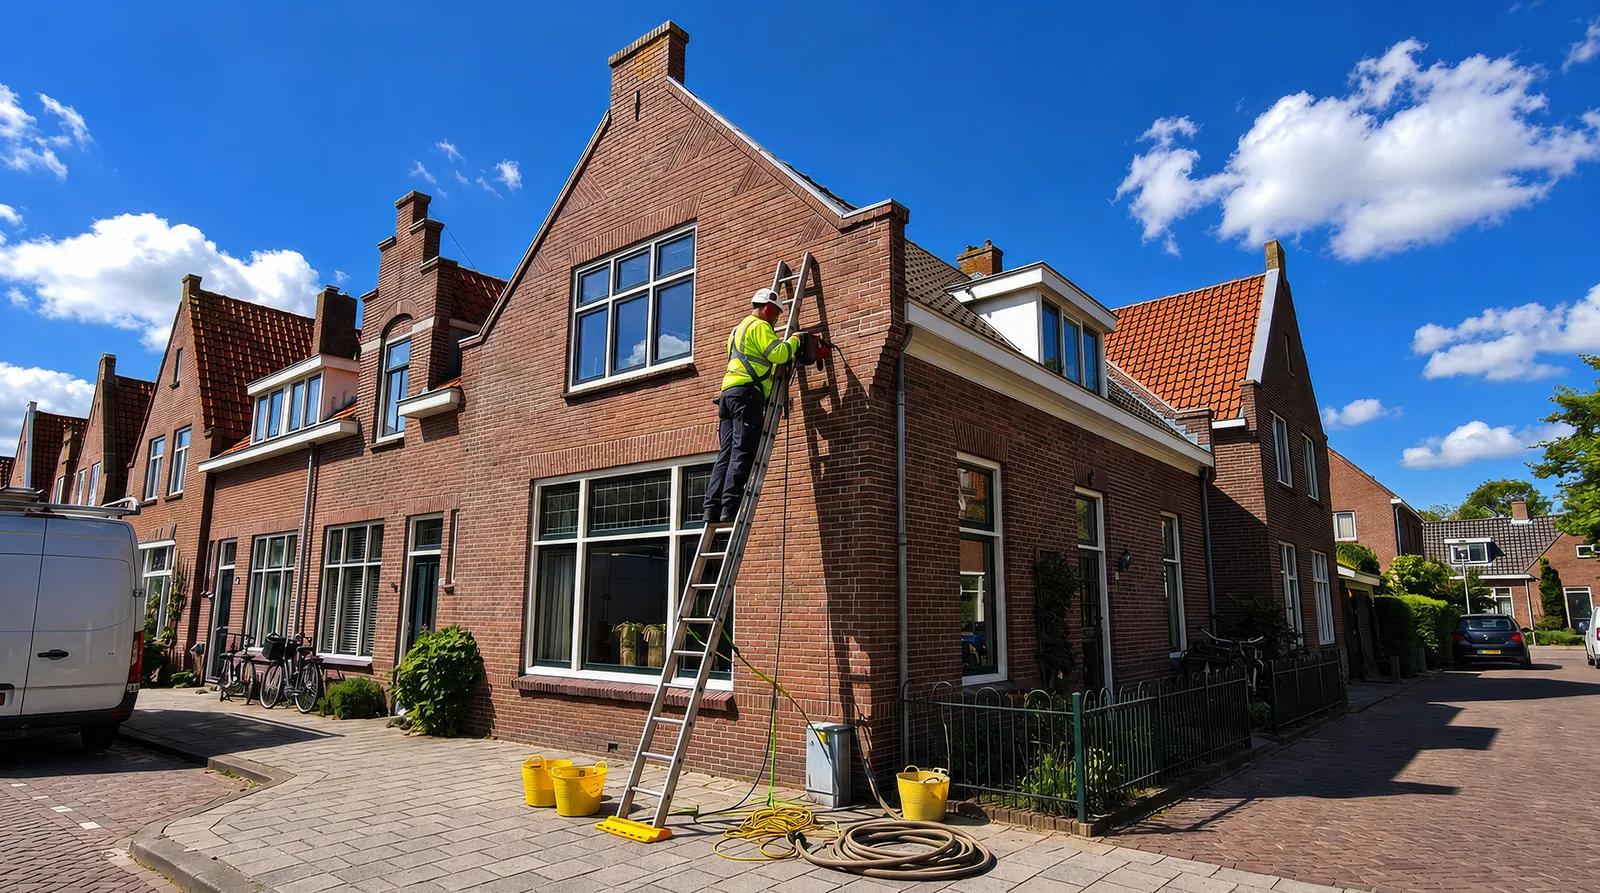
The method is simple in principle. A specialist company inspects the facade, drills small holes in the mortar joints, blows insulation material into the cavity, and closes the holes with matching mortar. The work is done from outside, so there is usually no need to empty rooms or remove interior finishes.
In a straightforward case the house feels warmer fairly quickly: the inner face of the wall gives off less cold, the heating works less hard, and room temperatures even out. In an old home, though, the survey matters as much as the injection itself.
The main injection methods
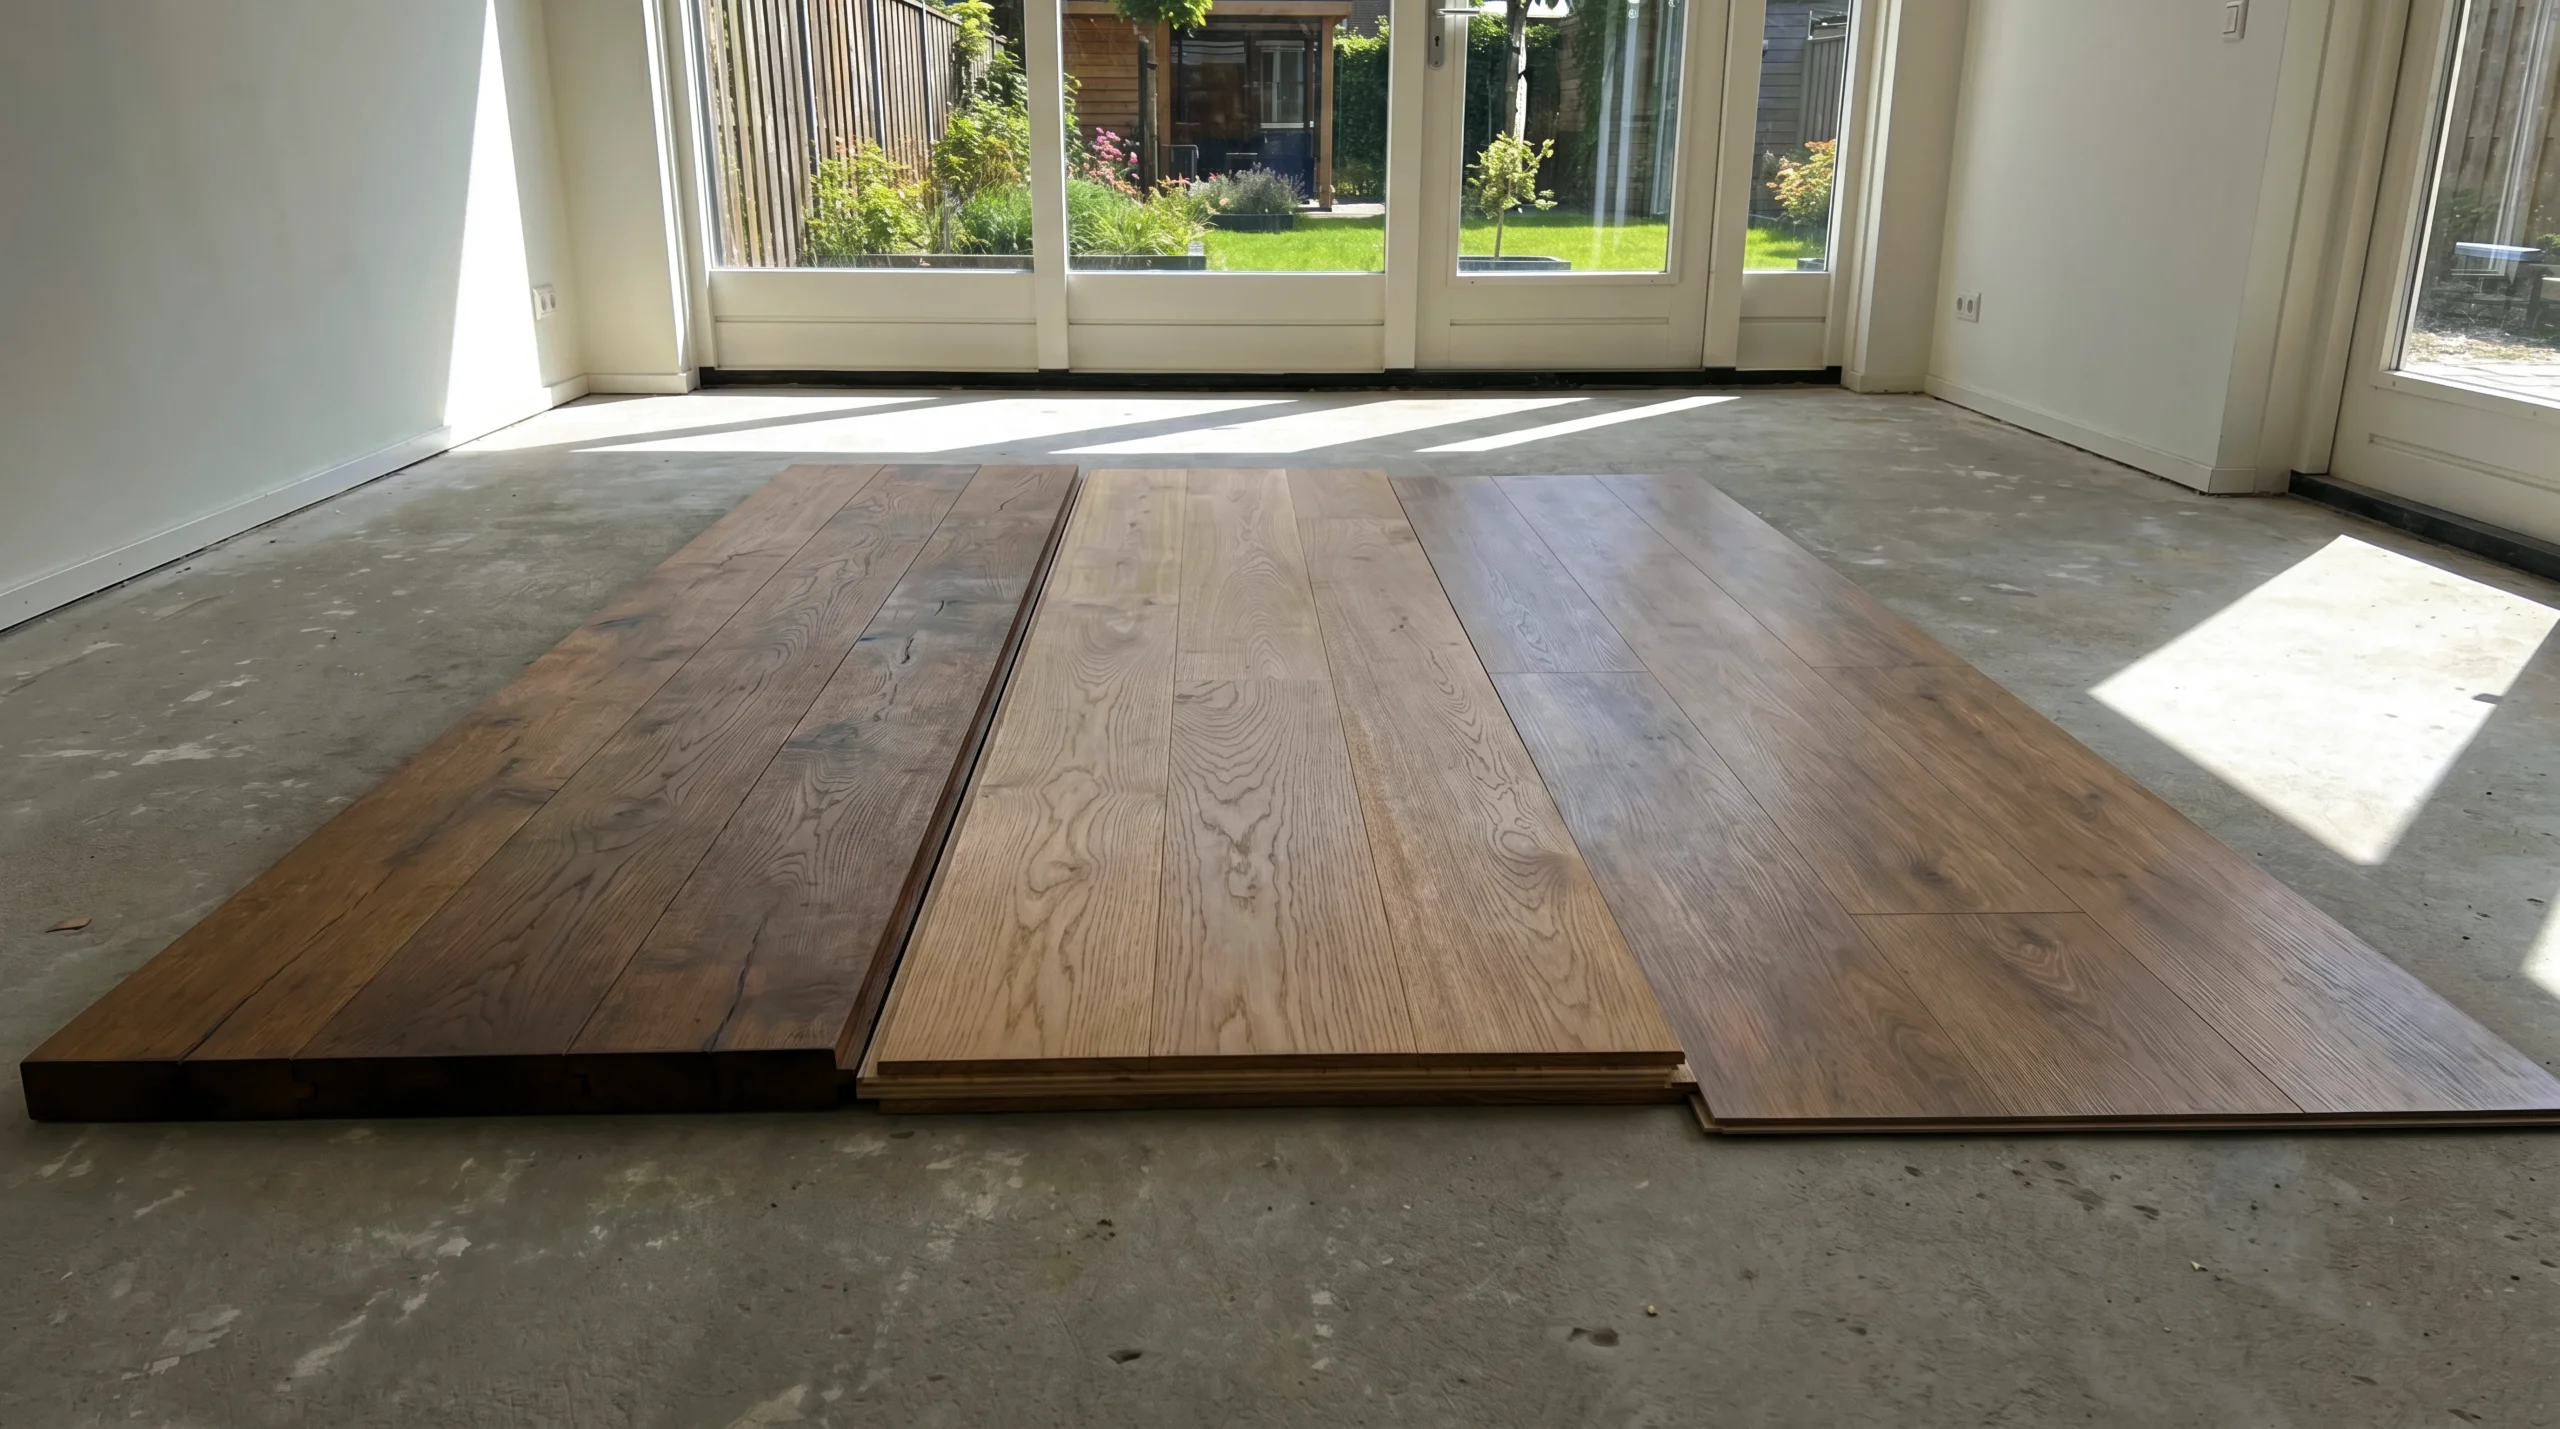
Cavity wall insulation is usually installed with blown or injected material, most often EPS beads, mineral wool flakes or certain foam systems.
EPS beads are small polystyrene pearls blown into the cavity. They spread well through the space and handle moisture reasonably when correctly installed. Grey HR++ EPS and white EPS beads are both common, and biofoam EPS is marketed as a lower-impact option.
Glass wool or mineral wool flakes are also widely used. These loose fibres are blown in and can perform well in a suitable wall, with the added benefit of sound damping.
Foam can fill awkward gaps but deserves more caution. UF foam in particular has raised health concerns in the Netherlands: a GGD study found it can release formaldehyde into the home, and from 1 April 2026 the ISDE subsidy for UF foam was suspended, a temporary measure while its safety is reviewed. PUR-based systems are also used, but material choice and certification matter. The best material is not the one that sounds most advanced; it is the one that suits the width, condition and moisture behaviour of the cavity.
Moisture risk
Cavity wall insulation does not automatically cause moisture problems. In many homes it improves comfort and reduces the cold internal wall surfaces where condensation might otherwise form. But the wall has to be suitable.
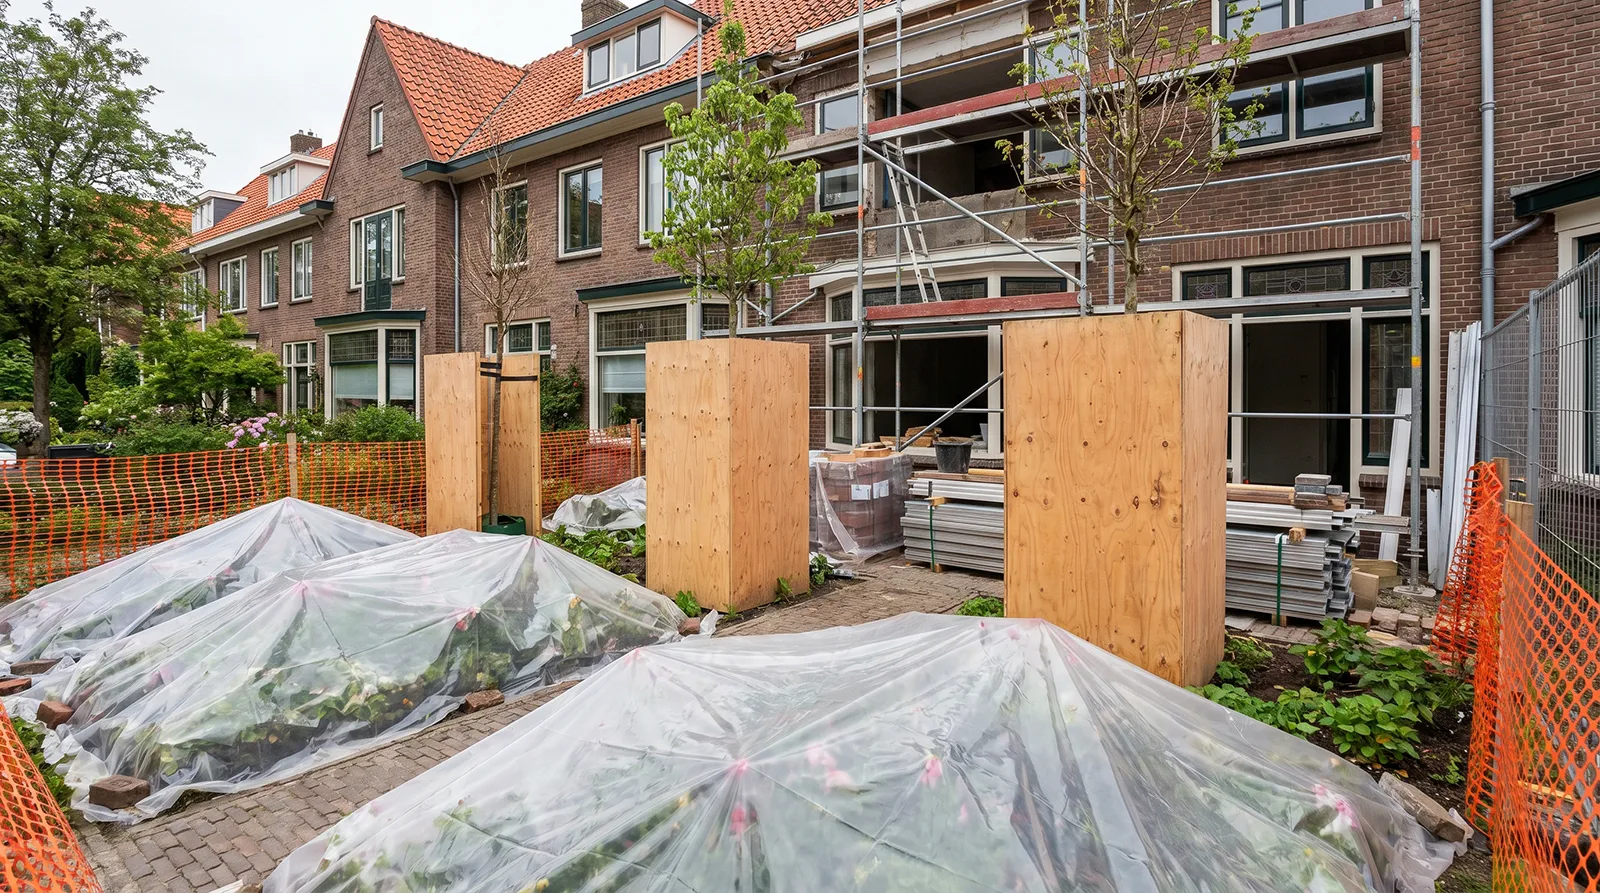
Moisture risk rises when the outer brickwork is porous, the pointing is weak, the cavity is dirty, or the wall faces heavy driving rain. Mortar bridges in the cavity let damp travel across more easily, and a facade already in poor condition can show existing problems more clearly once the cavity is filled.
Before insulating, a professional should check the cavity with an inspection camera, looking at cavity width, debris, wall ties, any previous insulation, damp traces, pointing, brick quality and ventilation details. Mention existing moisture problems inside the home before the inspection, not after. For fragile brickwork or a facade that already needs maintenance, it may be better to repair the exterior first, or to consider exterior insulation as part of a larger facade renovation.
Ventilation and the “breathing wall” idea
Many homeowners have heard that the cavity must stay empty so the wall can breathe. A correctly filled cavity does not need that open air movement to work; the key condition is that the masonry is in good order and not vulnerable to frost or penetrating damp. That is exactly why the inspection is not a formality: the specialist has to judge whether the wall can safely be filled.
Costs in 2026
Cavity wall insulation is still one of the more affordable insulation measures, though the exact cost varies with house type, wall area, access, material, cavity condition and nature-protection requirements.
As a broad 2026 indication, a terraced house costs less than a corner house, and a detached home more than both, simply because there is more wall to treat. Public estimates run from under a thousand euros for smaller terraced homes to several thousand for larger detached properties. These are standard-situation figures, not fixed prices. Extra costs appear when the facade needs repair, access is awkward, a lift is required, old insulation has to be assessed, or nature-friendly measures are needed.
Treat online figures as orientation only. Ask current prices from certified insulation companies, and make sure the quotation separates insulation, inspection, nature-related measures, any facade repair and VAT.
Subsidies in 2026
For owner-occupiers, the national ISDE scheme can help with cavity wall insulation when the work meets the conditions. In 2026 the subsidy for spouwmuurisolatie is €5.25 per square metre for a single measure, doubling to €10.50 per square metre if it is combined with another eligible measure, such as roof, floor or glass insulation or certain installations, within 24 months. Qualifying biobased materials add a €1.50 per square metre bonus, which is not doubled. The material has to meet the environmental and technical criteria and appear on the RVO meldcode list.
Several practical conditions apply. The homeowner must live in the home, the work must be done by a company rather than as DIY, and the application is submitted after installation. Keep the invoice, proof of payment, product details, photos of the work and any required meldcode.
Local subsidies or loans may also be available through the municipality or province. These differ by location, so check the Energiesubsidiewijzer or the municipal energy desk before signing a contract.
Bats, birds and the eDNA route
Cavity walls are not always empty. Bats, house sparrows and swifts can use gaps in walls or roofs without the homeowner ever noticing, and Dutch nature law is strict: protected animals may not be disturbed, trapped or killed during insulation work.
Since March 2025 the eDNA method has been a recognised route. A certified company tests for bat traces by taking samples from openings in the facade and sending them to a lab. If the result is negative, insulation can usually go ahead without extra measures. If it is positive, the homeowner cannot simply continue; a permit route, ecological investigation or municipal species management plan may be needed.
This has made planning more important. Cavity wall insulation is no longer only a technical job, it is also a nature-compliance process, and it can take longer than expected if protected species are found or if the municipality is still developing its species management plan.
The limits of cavity insulation
Cavity wall insulation is a good start, not always the final answer. A cavity in an older home may only take four to seven centimetres of insulation. That noticeably improves comfort, but it will not bring the wall to the standard of a thick exterior insulation system.
For a major energy-label jump, heat-pump readiness or a near energy-neutral renovation, cavity insulation may later need to be combined with internal or external wall insulation, especially when the roof, floor and windows are being upgraded too. It is the low-disruption first move: it cuts heat loss and cold wall surfaces, while deeper renovation needs a broader plan.
Questions to ask before signing
Before signing a quotation, a homeowner can put a short list of questions to the contractor: whether the cavity has been inspected with an endoscopic camera, whether it is wide and clean enough, the condition of the bricks and pointing, which material is proposed and why, whether the company is certified, how moisture risks will be assessed, whether the quote includes eDNA testing or nature-friendly measures, whether the material qualifies for ISDE subsidy, and what guarantee is offered. Asking these is how a homeowner keeps a quick energy upgrade from turning into a building problem.
Cavity wall insulation in a pre-war Dutch home can be a quiet but real improvement: it does not change the character of the house or cost interior space, and it makes walls warmer and heating more efficient. The conditions for getting it right are practical ones. Inspect the facade before filling it, solve moisture problems first, take protected species seriously, prepare the subsidy paperwork from the start, and choose a material that suits the wall rather than the sales brochure. Done that way, the payoff is straightforward: a warmer home, lower heat loss and a solid first step toward a better energy label.